Luma - LDAP browser, utility and more.

Luma - LDAP browser, utility and more. |
|
|
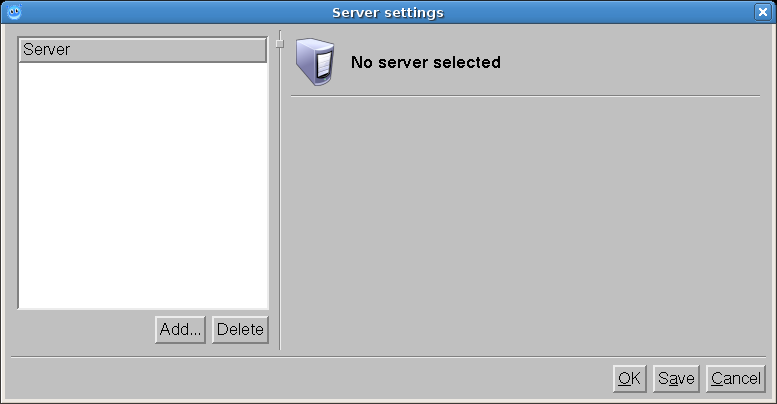
Getting started So, you've got Luma installed and running already? Good for you. Now comes the part of configuring how to communicate with your server(s).
Click 'Add' to add a new ServerConnection-object
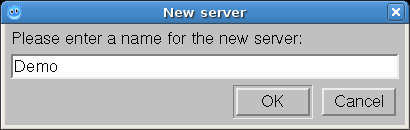
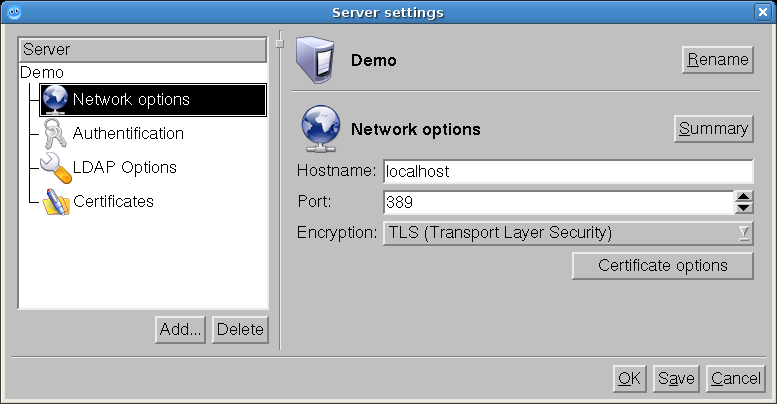
In this example, we name it 'Demo' In the next screenshot, we get to actually put in some real connection-data
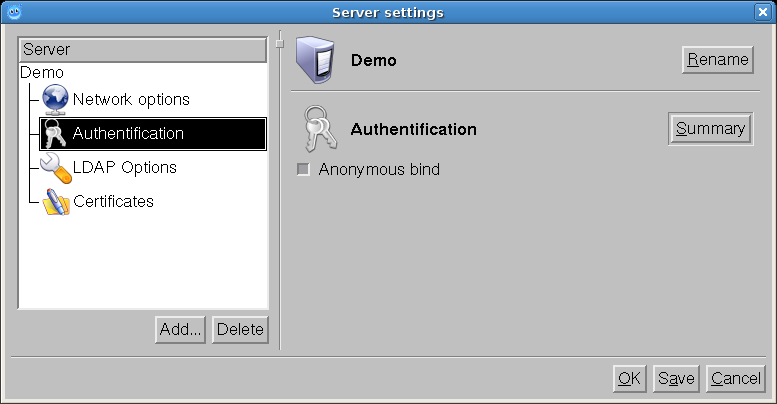
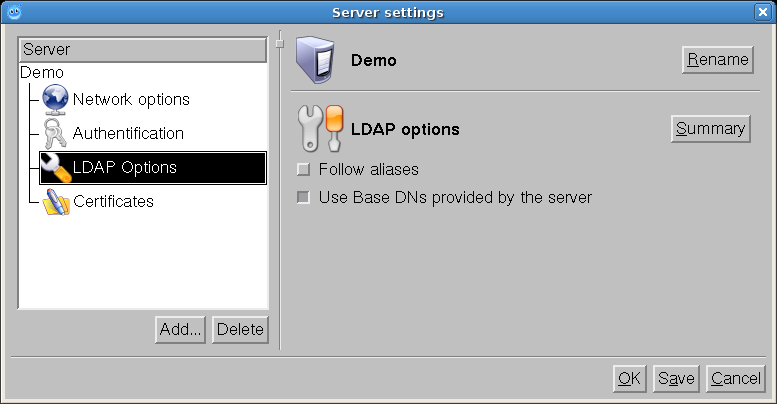
connecting using TLS/SSL will make the 'Certificates'-branch in the Server-window show. Try enable/disable and see for yourself. Next screenshot is where we choose by whom do we connect as. This example uses anonymous authentication. If you want to do writes onto your LDAP-server, you need to specify a valid DN (distinguished name), e.g. cn=admin,dc=mydomain,dc=com. Unless you know what SASL is, chances are - you're most likely to be using simple authentication with a binddn and a password. Writes requires identification, unless you've configured your server to do otherways.
automatically fetch it from your server. If this fails, its either an issue with ACLs - or Luma doesn't support your vendor's server-implementation for fetching base-suffixes.
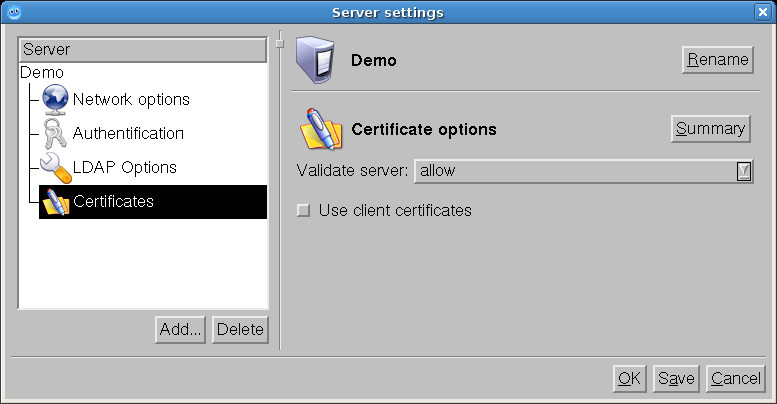
are happy with setting this option to 'allow' or 'demand'.
We suggest you start with the browser-plugin (Look'n' feel of directory explorers). For documentation on how to use the different plugins, go back to the documentation-page either via the menu or just here. |